
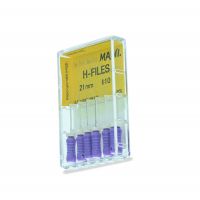
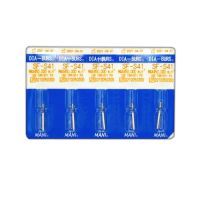
Mani H File 31mm 15
206
240
save 14.17%

No Contact Delivery

No Return

DentGanga Delivered

No Warranty Available
₹ 2,323.00 Inclusive of GST.
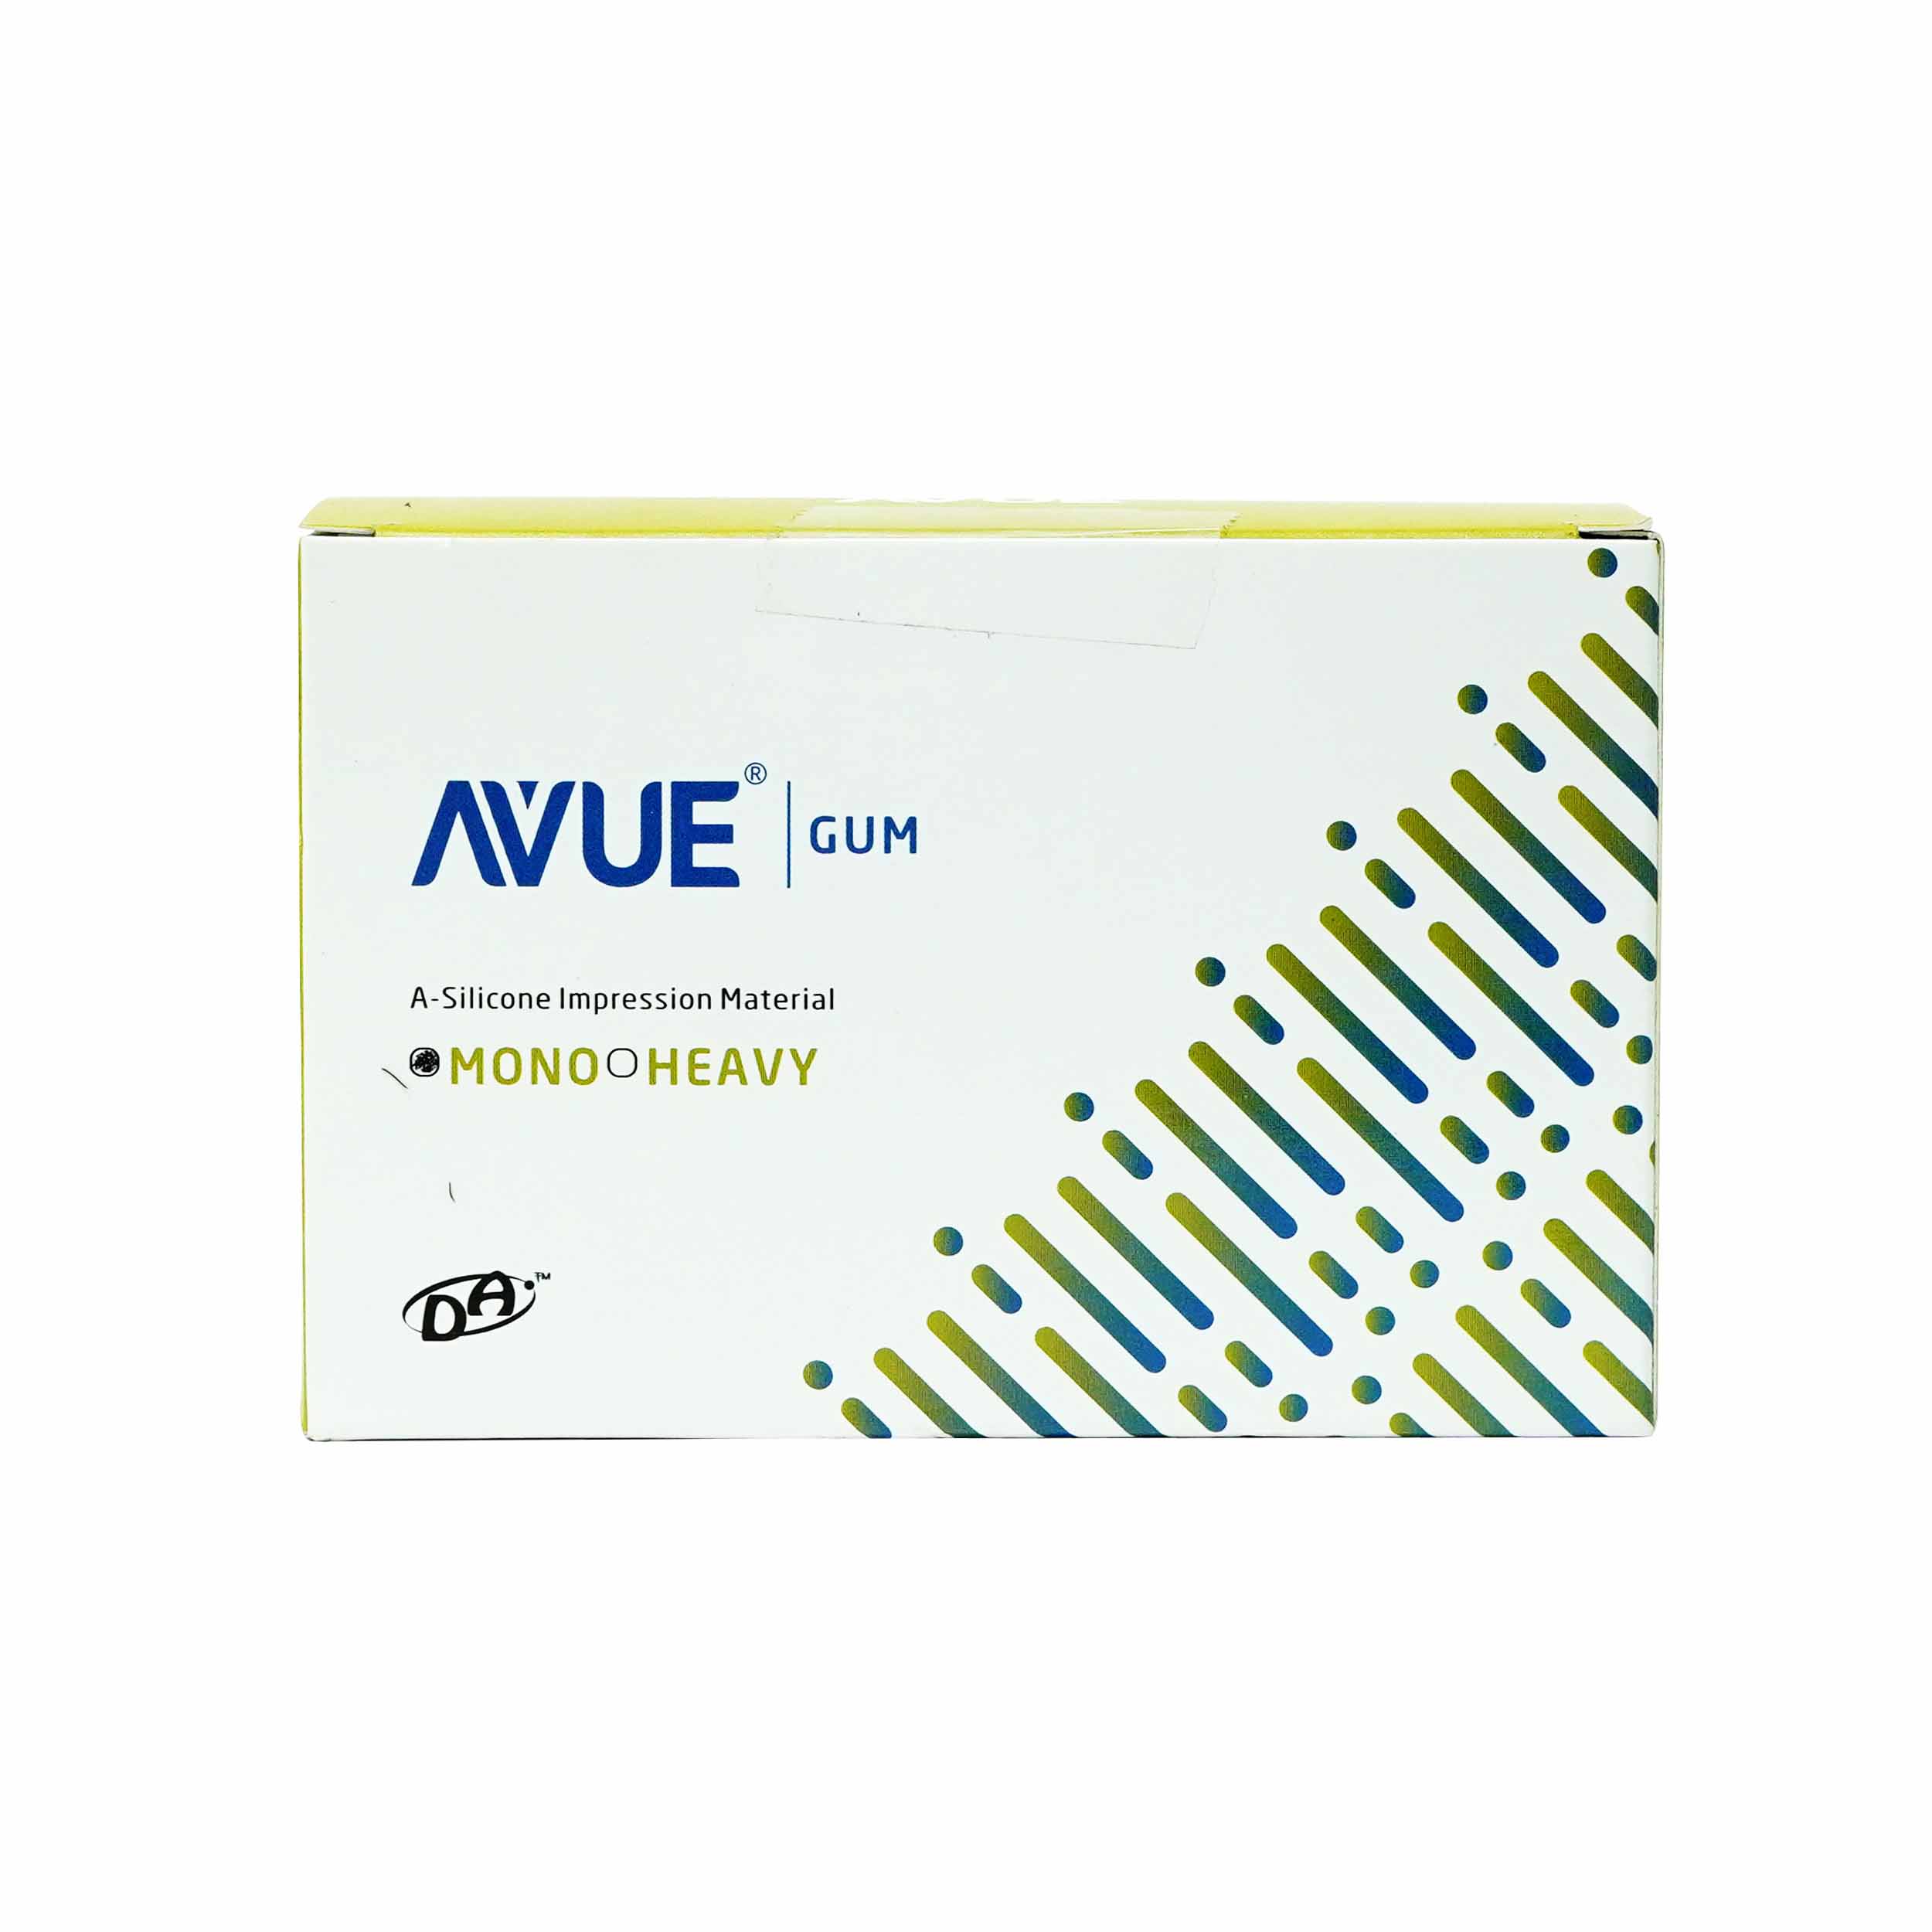
| Brand | Avue |
|---|---|
| Manufacturer | Avue |
| SKU | DGIN23013908-15465 |
| Item Model Number | DGIN23013908-15465 |
| Item Height | 10.00 cm |
|---|---|
| Item Width | 10.00 cm |
| Item Length | 15.00 cm |
| Item Weight | 100.00 gram |
Que: Do you have EMI options on heavy equipments or
products?
Ans: Yes, EMI options are available. The minimum order amount varies
across banks and same can be checked on payment page.
Que: Do you provide free shipping?
Ans: Yes, we provide free shipping through our membership plans. You can
choose the plan on checkout page.
Que: Do you provide Cash on Delivery (COD)?
Ans: We do provide Cash On Delivery (COD) on Prime Service Products.
Que: Do you deliver at my location?
Ans: Yes, we deliver the products PAN India.
Que: What is the estimated delivery date?
Ans: It usually takes 5-7 working days to deliver the product at your
doorstep.
Que: What are the terms and conditions for returning the
product?
Ans: The product seal should not be broken and properly packed before
returning and bill should be there with the product.
Que: What is the expiry for the material?
Ans: Our products have a minimum one-year expiration date. The expiry
that is shorter than this is regarded as a short expiry and you can
return the same within 7 days of delivery.
Que: If I return or cancel the order, when will I get the
refund?
Ans: In case of returned order, refunds are processed within 2 working
days of receiving the product back and same will be transferred to your
bank account or credit card within 3-5 days. Please note that amount
will be refunded to the same account / credit card / wallet from where
you originally made the payment.
Que: What is the dispatch time for any order?
Ans: Our dealers may take 24-48 hours to dispatch any order.
Que: Is bulk quantity order eligible for free shipping?
Ans: You can avail the free delivery through our membership plan only.
Drop your number and we will callback to answer your questions.


Copyright © 2022 DentGanga, All Rights Reserved
